DIY Dog Cone Alternatives: 12 Comfortable Options That Actually Work
The best DIY dog cone alternatives include a pool-noodle collar, a rolled-towel "donut," a snug baby onesie, and a sock or t-shirt over a paw wound — all of which block licking while staying more comfortable than a hard plastic cone. For surgical sites or determined lickers, a vet-recommended inflatable collar, recovery suit, or soft cone is safer. Match the option to the wound's location, and always confirm with your vet first.
The traditional "cone of shame" works, but plenty of dogs hate it — they bump into walls, can't eat or sleep comfortably, and mope. The good news is you usually have options, many of which you can make at home for a few dollars. Below are 12 alternatives ranked by how much protection they provide, when to use each, and the safety rules that keep a creative fix from becoming a vet emergency.
When a DIY cone alternative is appropriate — and when it isn't
Cone alternatives are great for minor irritations, paw and lower-leg wounds, hot spots, and the tail end of healing. They're a poor choice for fresh surgical incisions, stitches a dog is fixated on, eye injuries, or anything your vet specifically said needs a rigid barrier. After a spay or neuter, dogs typically need protection for the full 10 to 14 days it takes an incision to heal, and removing the barrier too early is a common cause of complications, as outlined in our guide to spaying and recovery. The golden rule: a barrier only works if your dog physically cannot reach the spot, full stop. If a homemade option doesn't pass that test, it isn't protecting anything.
One critical safety note up front: never leave a dog unsupervised in a DIY alternative until you've watched them in it and confirmed they can't slip it off, chew it, or overheat in it.
8 DIY dog cone alternatives you can make at home
1. The pool-noodle collar (under $5)
Slice a foam pool noodle into chunks, thread them onto your dog's regular collar until it's full, and you've made a budget version of a donut collar. It limits how far the neck can bend, which helps with wounds on the body and hindquarters. Best for medium and large dogs; too bulky for tiny breeds.
2. The towel-donut collar (free)
Roll a bath towel into a long tube, wrap it around the neck, and secure it with tape or a bandage so it forms a thick pillow. Like a travel pillow, it restricts neck rotation. Quick, free, and comfortable — but it can loosen, so check the fit often.
3. The baby onesie or t-shirt ($3–8)
A snug cotton onesie or t-shirt covers belly and chest incisions beautifully and is a favorite for post-spay bellies. Make sure it's tight enough to block licking but not circulation, and keep it clean and dry. This is one of the most comfortable options for body wounds.
4. The poster-board cone (under $3)
Cut a cone shape from flexible poster board or a thin cutting mat, fit it around the neck, and tape the seam. It mimics a store cone but is lighter and softer. Good in a pinch when you need a true cone shape but don't have one on hand.
5. The sock or t-shirt paw wrap (free)
For a paw or lower-leg hot spot, a clean sock secured (loosely!) with vet wrap can keep the area covered between lickings. This pairs well with a neck barrier, since paws are easy for dogs to reach. If your dog won't stop licking a paw, our guide on why dogs lick their paws can help you address the underlying cause too.
6. The cardboard neck brace (free)
Stacked cardboard rings around the neck create a stiff brace that limits head movement. Cheap and surprisingly effective for body wounds, though it won't survive getting wet.
7. The bucket-bottom collar (free)
For large, powerful dogs that destroy soft options, the cut-out bottom of a clean plastic bucket can serve as a rigid, cone-like guard. Sand any sharp edges and pad the rim with tape so it doesn't rub.
8. The paper-plate shield (pennies)
For small dogs, stiff paper plates with a center hole layered around the collar make a featherweight mini-cone. Only suitable for the littlest patients and minor issues.
4 commercial alternatives worth buying
Sometimes a purchased product is the safer, more humane call — especially for surgery. Veterinary sources like Preventive Vet and PetMD consistently recommend these:
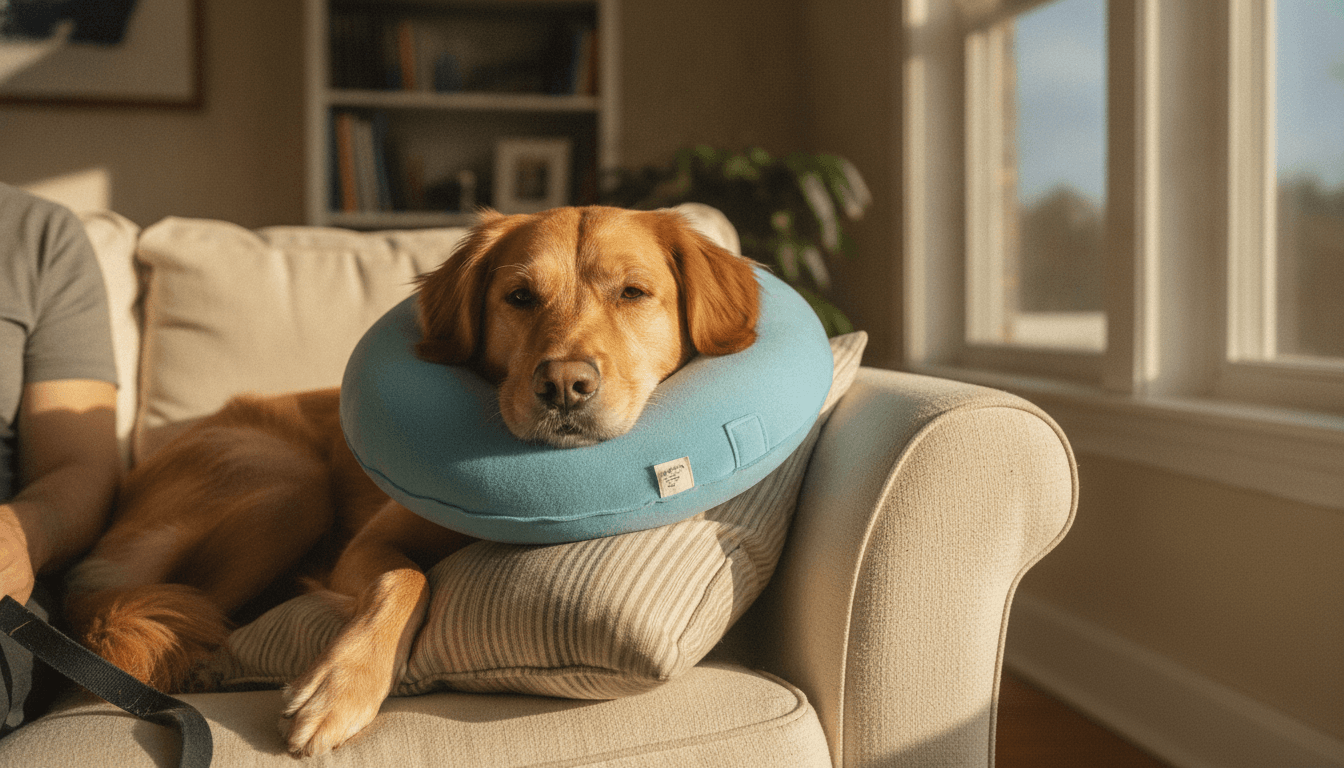
9. Inflatable donut collar ($12–25)
A padded, inflatable ring that works like a neck pillow, protecting the body and legs while letting your dog see, eat, and sleep normally. Most dogs tolerate them well — one figure cited by Rover and others is that the large majority of dogs adapt faster to an inflatable collar than a hard cone. Note: a flexible donut won't stop a very determined dog from reaching a body incision, so confirm coverage for your dog's specific wound.
10. Surgical recovery suit ($25–45)
A full-body stretchy suit that covers the torso and is ideal for spays, neuters, and abdominal or skin wounds. It's the most comfortable option for many dogs and avoids the cone entirely. Look for one with a snap-open bottom for bathroom breaks.
11. Soft fabric cone ($15–30)
A padded, collapsible cone that's gentler than rigid plastic but still extends past the nose. According to the American Kennel Club, a proper cone (soft or hard) must extend roughly two inches beyond the tip of the nose when pushed back on the neck to actually block access.
12. Boomerang/neck-brace collar ($25–40)
A firm foam collar that limits neck bending without blocking peripheral vision — a nice middle ground for dogs who panic in cones but need more control than a soft donut provides.
How to choose by wound location
- Belly, chest, or back: recovery suit, onesie, or t-shirt.
- Paws and lower legs: sock/wrap plus a neck barrier (dogs reach paws easily).
- Face, ears, or eyes: a true cone (soft or rigid) that extends past the nose — DIY donuts usually won't protect the face.
- Tail or hindquarters: a longer cone or a suit with tail coverage.
Sizing, seniors, and dogs who panic
One-size advice fails real dogs, so adjust for yours:
- Large and giant breeds need substantial barriers; flimsy paper or thin foam won't hold up. Size up to bucket-style or a heavy-duty recovery suit, and double-check that the collar still extends past a long snout.
- Senior dogs often do best with the lightest comfortable option (a suit or soft donut), since a heavy rigid cone can throw off already-shaky balance and make stairs or eating harder.
- Dogs who panic or freeze in a cone frequently relax in a recovery suit or inflatable collar. Introduce the new item before you strictly need it, pair it with treats, and supervise the first hour. If your dog is frantic, anxious, or refuses to eat or drink, that's a reason to call your vet for a better-fitting option — see our notes on at-home first aid for keeping calm during recovery.
Safety checklist for any cone alternative
- Confirms full coverage — your dog truly cannot reach the wound.
- Snug but not tight — you can slip two fingers under it; no restricted breathing or circulation.
- No loose strings, staples, sharp edges, or small parts to swallow.
- Your dog can still eat, drink, pee, and rest in it.
- Stays dry and clean; swap it out if it gets wet or soiled.
- Supervised, especially for the first hour and overnight.
When to call your vet right away
A cone alternative is for prevention, not for treating problems. Contact your veterinarian promptly if the wound is red, swollen, oozing, or smells bad; if stitches open or the incision gapes; if your dog won't eat or drink; or if they seem in pain or won't settle. Persistent licking despite a barrier — or a wound that isn't improving — also warrants a call, as we cover in what to do when a dog's wound won't heal.
Frequently asked questions
What can I use instead of a cone for my dog?
Good substitutes include an inflatable donut collar, a surgical recovery suit, a soft fabric cone, or DIY options like a pool-noodle collar, towel donut, baby onesie, or sock over a paw. The right pick depends on the wound's location and how determined your dog is — check with your vet.
Are inflatable collars as effective as cones?
For wounds on the body and legs they work well and most dogs tolerate them better than a rigid cone. They're less reliable for the face or for a very flexible dog reaching a body incision, so confirm coverage for your dog's specific situation.
How long does my dog need to wear a cone or alternative?
It depends on the procedure, but after a spay or neuter it's commonly 10 to 14 days, until the incision is fully healed. Follow your veterinarian's timeline rather than removing it early.
Can my dog sleep in a cone alternative?
Yes, and comfort is one of the main reasons to use one. Recovery suits, soft cones, and inflatable collars are usually easier to sleep in than a hard cone. Make sure your dog can lie down and rest naturally in whatever you choose.
Is a DIY cone safe for after surgery?
Sometimes, but surgical incisions are higher stakes, so ask your vet first. For many spays, neuters, and abdominal surgeries, a recovery suit or properly fitted cone is safer than an improvised barrier. When in doubt, go with the vet-recommended option.
The bottom line
You don't have to settle for a miserable dog in a plastic cone. With a little ingenuity — or an inexpensive inflatable collar or recovery suit — you can keep a wound protected and your dog far more comfortable. Just match the barrier to the wound, run through the safety checklist, and keep your veterinarian in the loop.
This article is general information and not a substitute for professional veterinary care. Healing wounds and post-surgical recovery vary by dog — always follow your veterinarian's specific instructions, and contact your vet with any concerns about your dog's recovery.